Working with form
Main focus on this
- Creating a form
- Working with the input element
- Using with the SELECT and OPTION element
- Using the OPTGROUP element
- Working with thw Textarea element
- Using the FIELDSET AND LEGEND element
- Using with the BUtton element
- Using with the Datalist element
- using with the Keygen element
- Using with the output element
- using with the PROGRESS element
- using with the Meter element
- Using with the enctype action and method attributes
IN DEPATH
At times , you need to develop websites that requires users interaction , For example , you need to develop a railway websites that allows uswers to check the arrival department status on the internet , This website user a registration and log in form to collect the user information that submits the information to server for futher processing , These type of form pfovide the medium of interaction between a websites and its users on the internet , A form is a are of a web page
that allowsthe users to provides the information in a varitey of the way ,
Exploring of the input element element
A form is the composed control s, such as text box, drop down list and check box radio button and enable users to enter the information , you can create by using the INPUT ELEMENT To do this , u need to set type of this INPUT ELEMENT
- test and serach
- tel
- url
- email
- password
- datetime-local
- datetime, date, month, year, day , week time
- number and range
- file
- hidden
- checkbox
- radio
- submit
- reset
Let's start ou discussion with the text and search type .,
Displaying the text and search type
here in include rectangle text box that facilites a userto enter information , It is used to collect single line information ,
Creating a form
Create using the form element a web page
<1doctype html>
<html>
<head>
<title> Form</Title>
</head>
<body>
start of form <FORM>
FORM
</FORM>
Ending form
</body>
</html>
see in figure display on form start and end
Working with the input element
<!Doctype html>
<html>
<head>
<title> Input </title>
</head>
<body>
<form>
Enter your name <input>
</Form>
</body>
</html>
output
display web page on form input textarea ,
Using the input element , You can add the following field on a forms,
- Text field
- Password field
- Hidden field
- Checkbox field
- Radio button
- Submit button firld
- Reset button field
Now let's start to create all the these field on a web page,
Working with the text field
start text code in html form
<!DOCTYPE HTML>
<HTML>
<HEAD>
<TITLE> TEXT </TITLE>
</HEAD>
<BODY>
<FORM>
Enter your username :<INPUT TYPE="TEXT" NAME="Username">
</FORM>
</BODY>
</HTML>
Display output usename form
Using the tex value code
include
Tye code here value text amd size
<!DOCTYPE HTML>
<HTML>
<HEAD>
<TITLE> text value </TITLE>
</HEAD>
<BODY>
<FORM>
Enter your two digit code number:<input ype="text" name="username" size="2" maxlength="2" value="00">
</FORM>
</BODY>
</HTML>
Output HeRe WEB PAGE FORM
Display the value text and size
Working with field password
start code very easy to learn and type and create password (ek najar dekh lo easily set ho jaega mind m )
<!doctype html>
<html>
<head>
<title> password </title>
</head>
<body>
<form>
Password:<Input yype="password">
</form>
</body>
</html>
ready password code now see output on web page ,
Display hese,
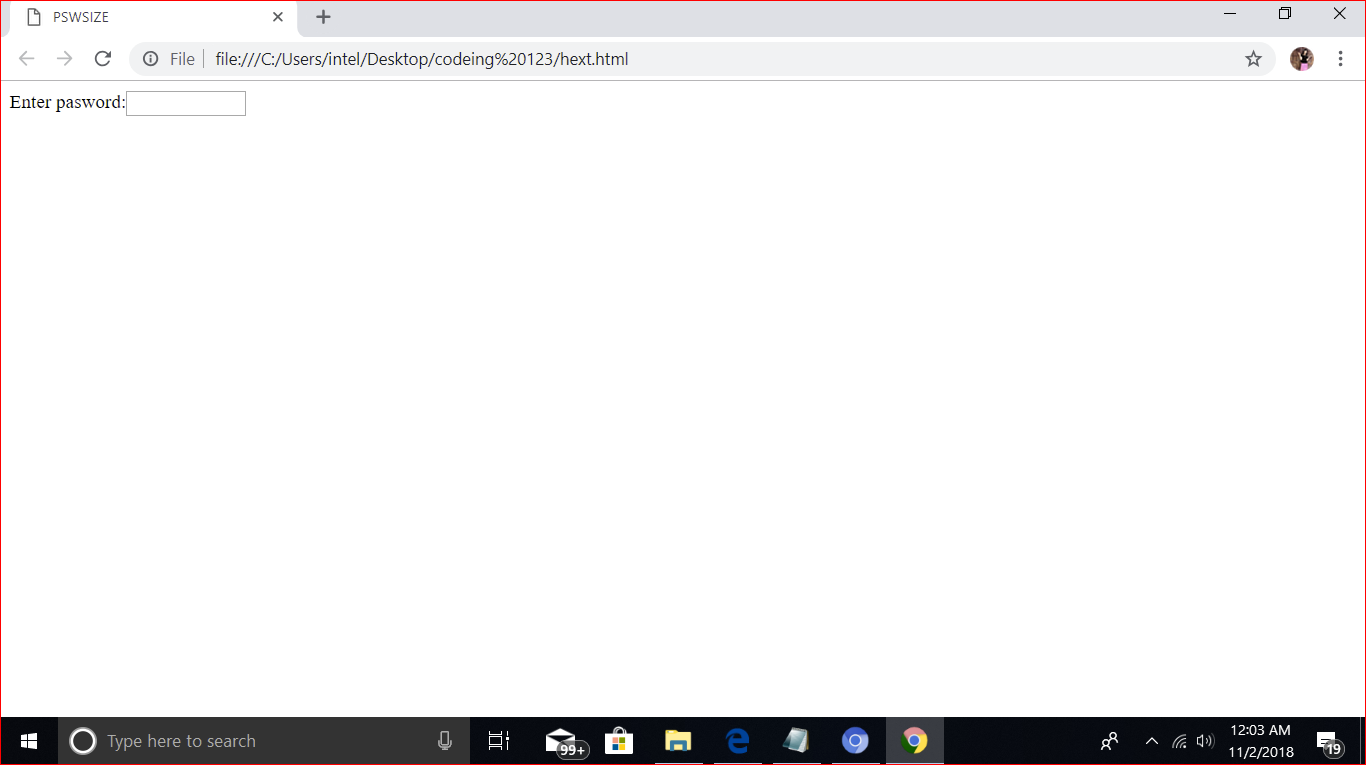
How to creaate password size code
see here very simple code type
<!DOCTYPE HTML>
<HTML>
<HEAD>
<TITLE> PSWSIZE</TITLE>
</HEAD>
<BODY>
<form>
Enter pasword:<input ype="password" name="pw" size="10">
</form>
</body>
</html<
Looking picture
MAXLENGTH OF PASSWORD
Same code different some and add maxlength
<!DOCTYPE HTML>
<HTML>
<HEAD>
<TITLE> CODE MAXLENGTH </TITLE>
</HEAD>
<BODY>
<FORM>
Enter your password:<input type="password" name="pw" size="10" maxlength ="4">
</form>
</body>
</html>
So guy's looking here password output ,
below
Web form pw
Now start how to make a value of password
simple and easy value password code ,( cool mind and see)
<!Doctype html>
<html>
<head>
<title> value of password </title>
</head>
<body>
<form>
Enter password: <input type="password" name="pw" size="10" maxlength="5" value="dreamtech">
</form>
</body>
</html>
Ready output web page form value of password ,
Display output
Hidden field code type show below:
<!Doctype html>
<html>
<head>
<title> hidden field</title>
</head>
<body>
<form>
User name :<input id ="name="text" /> <br>
<input type="hidden" id="country" value="india"><br>
<input type="submit" onclick="alert('Hellow '+
document.getelementById('name'),value +'from'+
document.getelementById('country').value)" value="submit">
</Form>
</body>
</html>
hidden name submit
Create web page and show out then input name and submit , your name is hidden and show click text box,
Creating a check box field
Check boxees allows you to select one or more number of iteems from the list of items , you can add the checkboxes field on the web page , by specify the type attribute INPUT element to checkbox
Show the checkbox code
<!DOCTYPE HTML>
<HTML>
<HEAD>
<TITLE> checkbox </TITLE>
</HEAD>
<BODY>
<FORM>
Select one o the three choices :</br>
<INPUT type="checkbox" name="option1" value="india" > India </BR>
<input type="checkbox" name="option2" value="Pakistan"> Pakistan </br>
<input type="checkbox" name= "option3" value="China"> China </br>
<input type="checkbox" name="option4" value="singapur"> Singapur</br>
</FORM>
</BODY>
</HTML>
se display on picture checkbox
Creating a radio button
, its creating radio button , use tis button in form select gender male nad femel and other , and option select , on web page
<!DOCTYPE HTML>
<HTML>
<HEAD>
<TITLE> checkbox </TITLE>
</HEAD>
<BODY>
<FORM>
Select one o the three choices :</br>
<input type="radio" name="group1" value="mobile"> mobile</br>
<input type="radio" name="group2" value="smart mobile"> smart mobile</br>
<input type="radio" name= "group3" value="laptop" > laptop </br>
<input type="radio" name="group4" value="mouse"> mouse</br>
</FORM>
</BODY>
</HTML>
see display readio button on form
Creating a submit button field
The submit button use to submit detail s entered in a form to the server ,Let's create a web page ,
<!DOCTYPE HTML>
<HTML>
<HEAD>
<TITLE> checkbox </TITLE>
</HEAD>
<BODY>
<FORM>
Username:<input type="test" name="username" value="dreatech"> </br>
Password:<input type="password" name="password" value="kogent"> </br>
<input type="submit" name="submit" value="click1"></br>
</FORM>
</BODY>
</HTML>
Creating reset butto and include submit in form
Already disscuss about submit button so reset button clear data and input new username and password , this called reset
<!DOCTYPE HTML>
<HTML>
<HEAD>
<TITLE> checkbox </TITLE>
</HEAD>
<BODY>
<FORM>
Username:<input type="test" name="username" value="dreatech"> </br>
Password:<input type="password" name="password" value="kogent"> </br>
<input type="submit" name="submit" value="click1"></br>
<input type="reset " name="reset" value="reset"> </br>
</FORM>
</BODY>
</HTML>
USING SELECT AND OPTION ELEMENT
Nnw disscuss here option value work select any other option as like you have ten things if you want to selec one then use option ,
<!DOCTYPE HTML>
<HTML>
<HEAD>
<TITLE> OPTION ELEMENT</TITLE>
</HEAD>
<BODY>
<FORM>
Select anyone fruites </br>
<SELECT>
<OPTION value="mango" >Mango</option>
<option value="banana"> banana </option>
<option value="apple"> apple</option>
</option value="orange"> orange</option>
</select>
</form>
</body>
</html>
see on figure ,
Select option body color
add one code
(<body bgcolor="yellow">)
There add one code change form background color , very easy option and select coede ,
<!DOCTYPE HTML>
<HTML>
<HEAD>
<TITLE> OPTION ELEMENT</TITLE>
</HEAD>
<BODY bgcolor="yellow">
<FORM>
Select anyone fruites </br>
<SELECT>
<OPTION value="mango" >Mango</option>
<option value="banana"> banana </option>
<option value="apple"> apple</option>
</option value="orange"> orange</option>
</select>
</form>
</body>
</html>
see output on picture
SELECT AND OPTION CHANGE ALIGEMENT
Aligement change this option elemnt add aligement code <center, left, right>
below
<!DOCTYPE HTML>
<HTML>
<HEAD>
<TITLE> OPTION ELEMENT</TITLE>
</HEAD>
<BODY>
<FORM align="center">
Select anyone fruites </br>
<SELECT>
<OPTION value="mango" >Mango</option>
<option value="banana"> banana </option>
<option value="apple"> apple</option>
</option value="orange"> orange</option>
</select>
</form>
</body>
</html>
see display on form in align
Option and select size
Here code is option element change size this element ,
<!DOCTYPE HTML>
<HTML>
<HEAD>
<TITLE> OPTION ELEMENT</TITLE>
</HEAD>
<BODY>
<FORM align="center">
Select anyone fruites </br>
<SELECT size="10">
<OPTION value="mango" >Mango</option>
<option value="banana"> banana </option>
<option value="apple"> apple</option>
</option value="orange"> orange</option>
</select>
</form>
</body>
</html>
see on picture option element
Using the option group element
The OPTION GROUP element is used to group the list of option and display in the deop down list
Let's create
<!DOCTYPE HTML>
<HTML>
<HEAD>
<TITLE> group OPTION ELEMENT</TITLE>
</HEAD>
<BODY>
<FORM align="center">
Select anyone fruites </br>
<SELECT>
<OPTGROUP level="Fruties">
<option value="orange"> orange</option>
<option value=" mango"> mango</option>
<option value="apple"> apple</option>
<option value="grapes ">grapes</ption>
</select>
</form>
</body>
</html>
Working with the text area element
<!DOCTYPE HTML>
<HTML>
<HEAD>
<TITLE> TEXTAREA </TITLE>
</HEAD>
<BODY>
<TEXTAREA>
Enter the text here
</TEXTAREA>
</form>
</body>
</html>
OUTPUT textarea
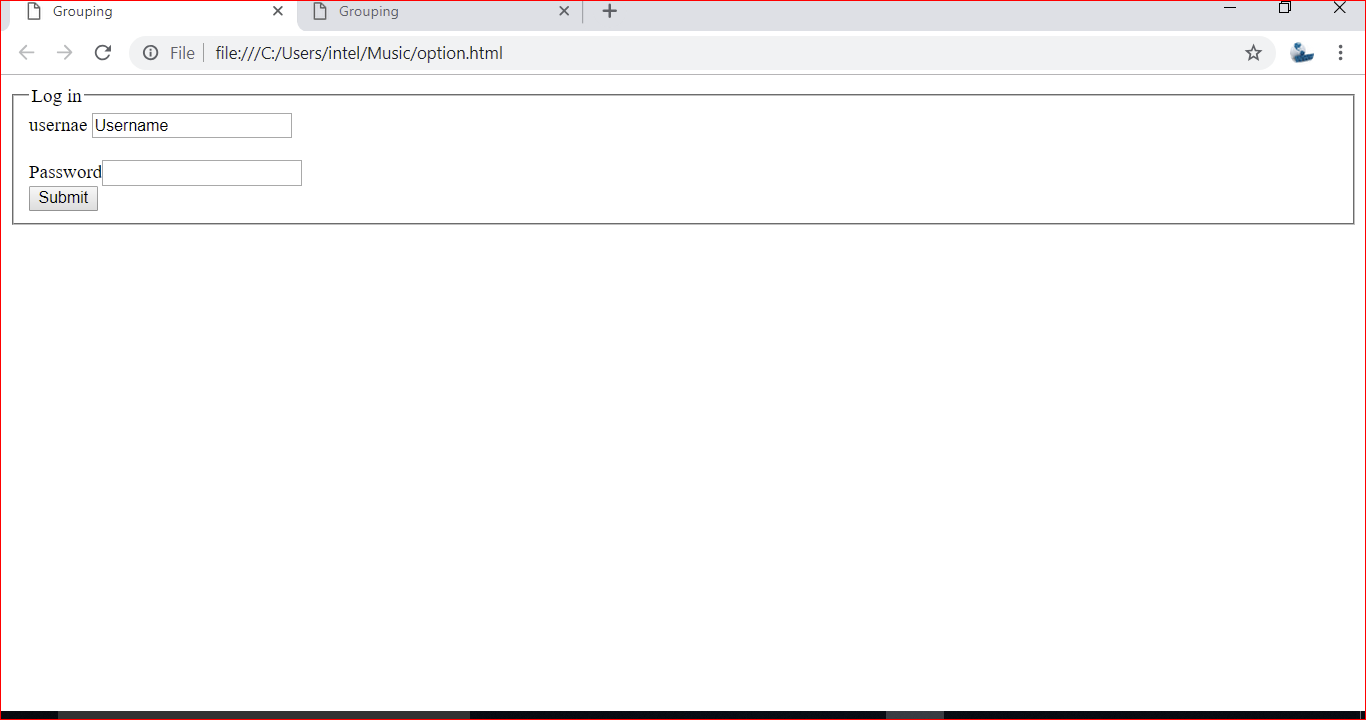
Using the field set and legend element
Fileset elemnt group related control in a single box and the legend elements provide the caption for that box,,
<!DOCTYPE HTML>
<HTML>
<HEAD>
<TITLE> Grouping </TITLE>
</HEAD>
<BODY>
<FORM>
<FIELDSET>
<LEGEND> Log in </LEGEND>
<level>
usernae
<input type="text" name="name" value ="Username"></br>
</level>
<br>
<level>
Password<input type="password">
</level>
</BR>
<level>
<input type="Submit" name="Submit" value="Submit">
</level>
</Fieldset>
</legend>
</form>
</body>
</html>
Using the BUTTON ELEMENT
!<DOCTYPE HTML>
<HTML>
<TITLE> Using the butto element </title>
</head>
<body>
<p> simple submit button </p>
<Button type="submit"> submit</button>
<hr>
<p> Changing the font of the button </p>
<Button type="button" style="color:red;font-size:20px;">
<b> Submit</b>
</button>
</body>
</html>
Image button display using back and font button
The BUTTON element allows you to a display the image on the button control , let's create web page
<!DOCTYPE HTML>
<HTML>
<HEAD>
<TITLE> Display image button </TITLE>
</head>
<body>
<p> Display image on button </p>
<Button type="Button">
<img src="back.png" width="50" height="50"/>
</button>
<button type="submit">
<img src="next.png" width="50" height="50">
</button>
</body>
</html>
The button element back and next
NEXT
- Datalist
- keygen element
- outputelement
- meter
Using the datalist element
You can create a list of predefined options in a field using the DATALIST
Element Let's create a web page
<!DOCTYPE HTML>
<HTML>
<HEAD>
<TITLE> dATALIST </title>
</HEAD>
<BODY>
<P>ENTER THE NAME OF YOUR FAVIROUITE CAR :</P>
<INPUT type="text" name="favcar" list="car">
<datalist id="cars">
<option value="BLW">
<option value="porsche">
<option value="audi">
<ption value="ford">
<option value="Ferrari">
<option value="wercedes">
</DATALIST>
</BODY>
</HTML>
display here output on figure,
Keygen element using
The element keygen is need to generated the key pair at the time of submiting the form, let's create web page
<!DOCTYPE HTML>
<html>
<head>
<title> keygen </title>
</head>
<body>
<FORM action ="option.html" methodt="post" enctype="text/plain">
First name:<input type="text" name="name">
</br>
Last name:<input type="text" name="name"></br>
<KEYGEN name="key" challenge="09856413145" keytype="RSA">
<input type="submit" value="submit"/>
</FORM>
</BODY>
</HTML>
disply post page ,(option.html>
Using the progress element
As alerdy disscuss about element , you can view the progress of your current task with the help of the PROGRESS.element
<!DOCTYPE HTML>
<html>
<head>
<title> progress element </title>
</head>
<body BGCOLOR="grey">
Current task</BR>
</BR>
<PROGRESS value="200" max="500">
</PROGRESS>
</FORM>
</BODY>
</HTML>
progress element output on thist page
Using the meter element
<!DOCTYPE HTML>
<html>
<head>
<title> METER ELEMENT </title>
</head>
<body>
<Meter value="5" min="0" max="10" style="width:200px"> </METER> Passing score </br>
<METER value="10" min="1" max="20" style="width="300px"> </METER> your score</br>
</BODY>
</HTML>
output in this figure meter element
below:
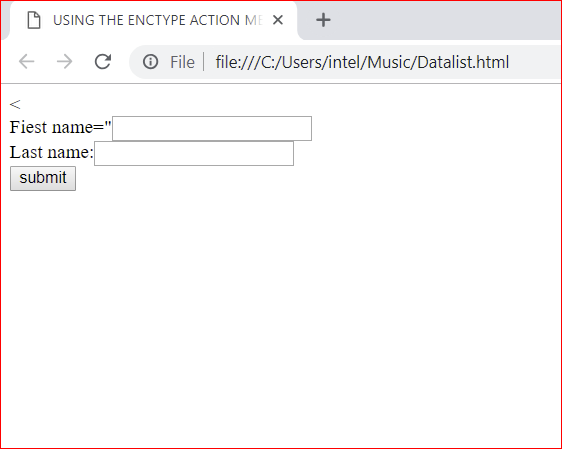
USING THE ENCTYPE, ACTION, METHOD ATTRIBUTE
The enctype attribute use the specify the format of the form's content at the time of submission ,
<!DOCTYPE HTML>
<HTML>
<HEAD>
<
<TITLE> USING THE ENCTYPE ACTION METHOD </TITLE>
</HEAD>
<BODY>
<FORM action="action.asp" method="get" enctype="text/plain">
Fiest name="<input type="text" name="frame" />
Last name:<input type="text" name="fname" />
<input type="submit" value="submit" />
</form>
</body>
</html>
output below in this picture :
display
then add its code action form and method